
How to Do a Blowout at Home Like a Pro (Even If You're a Beginner)
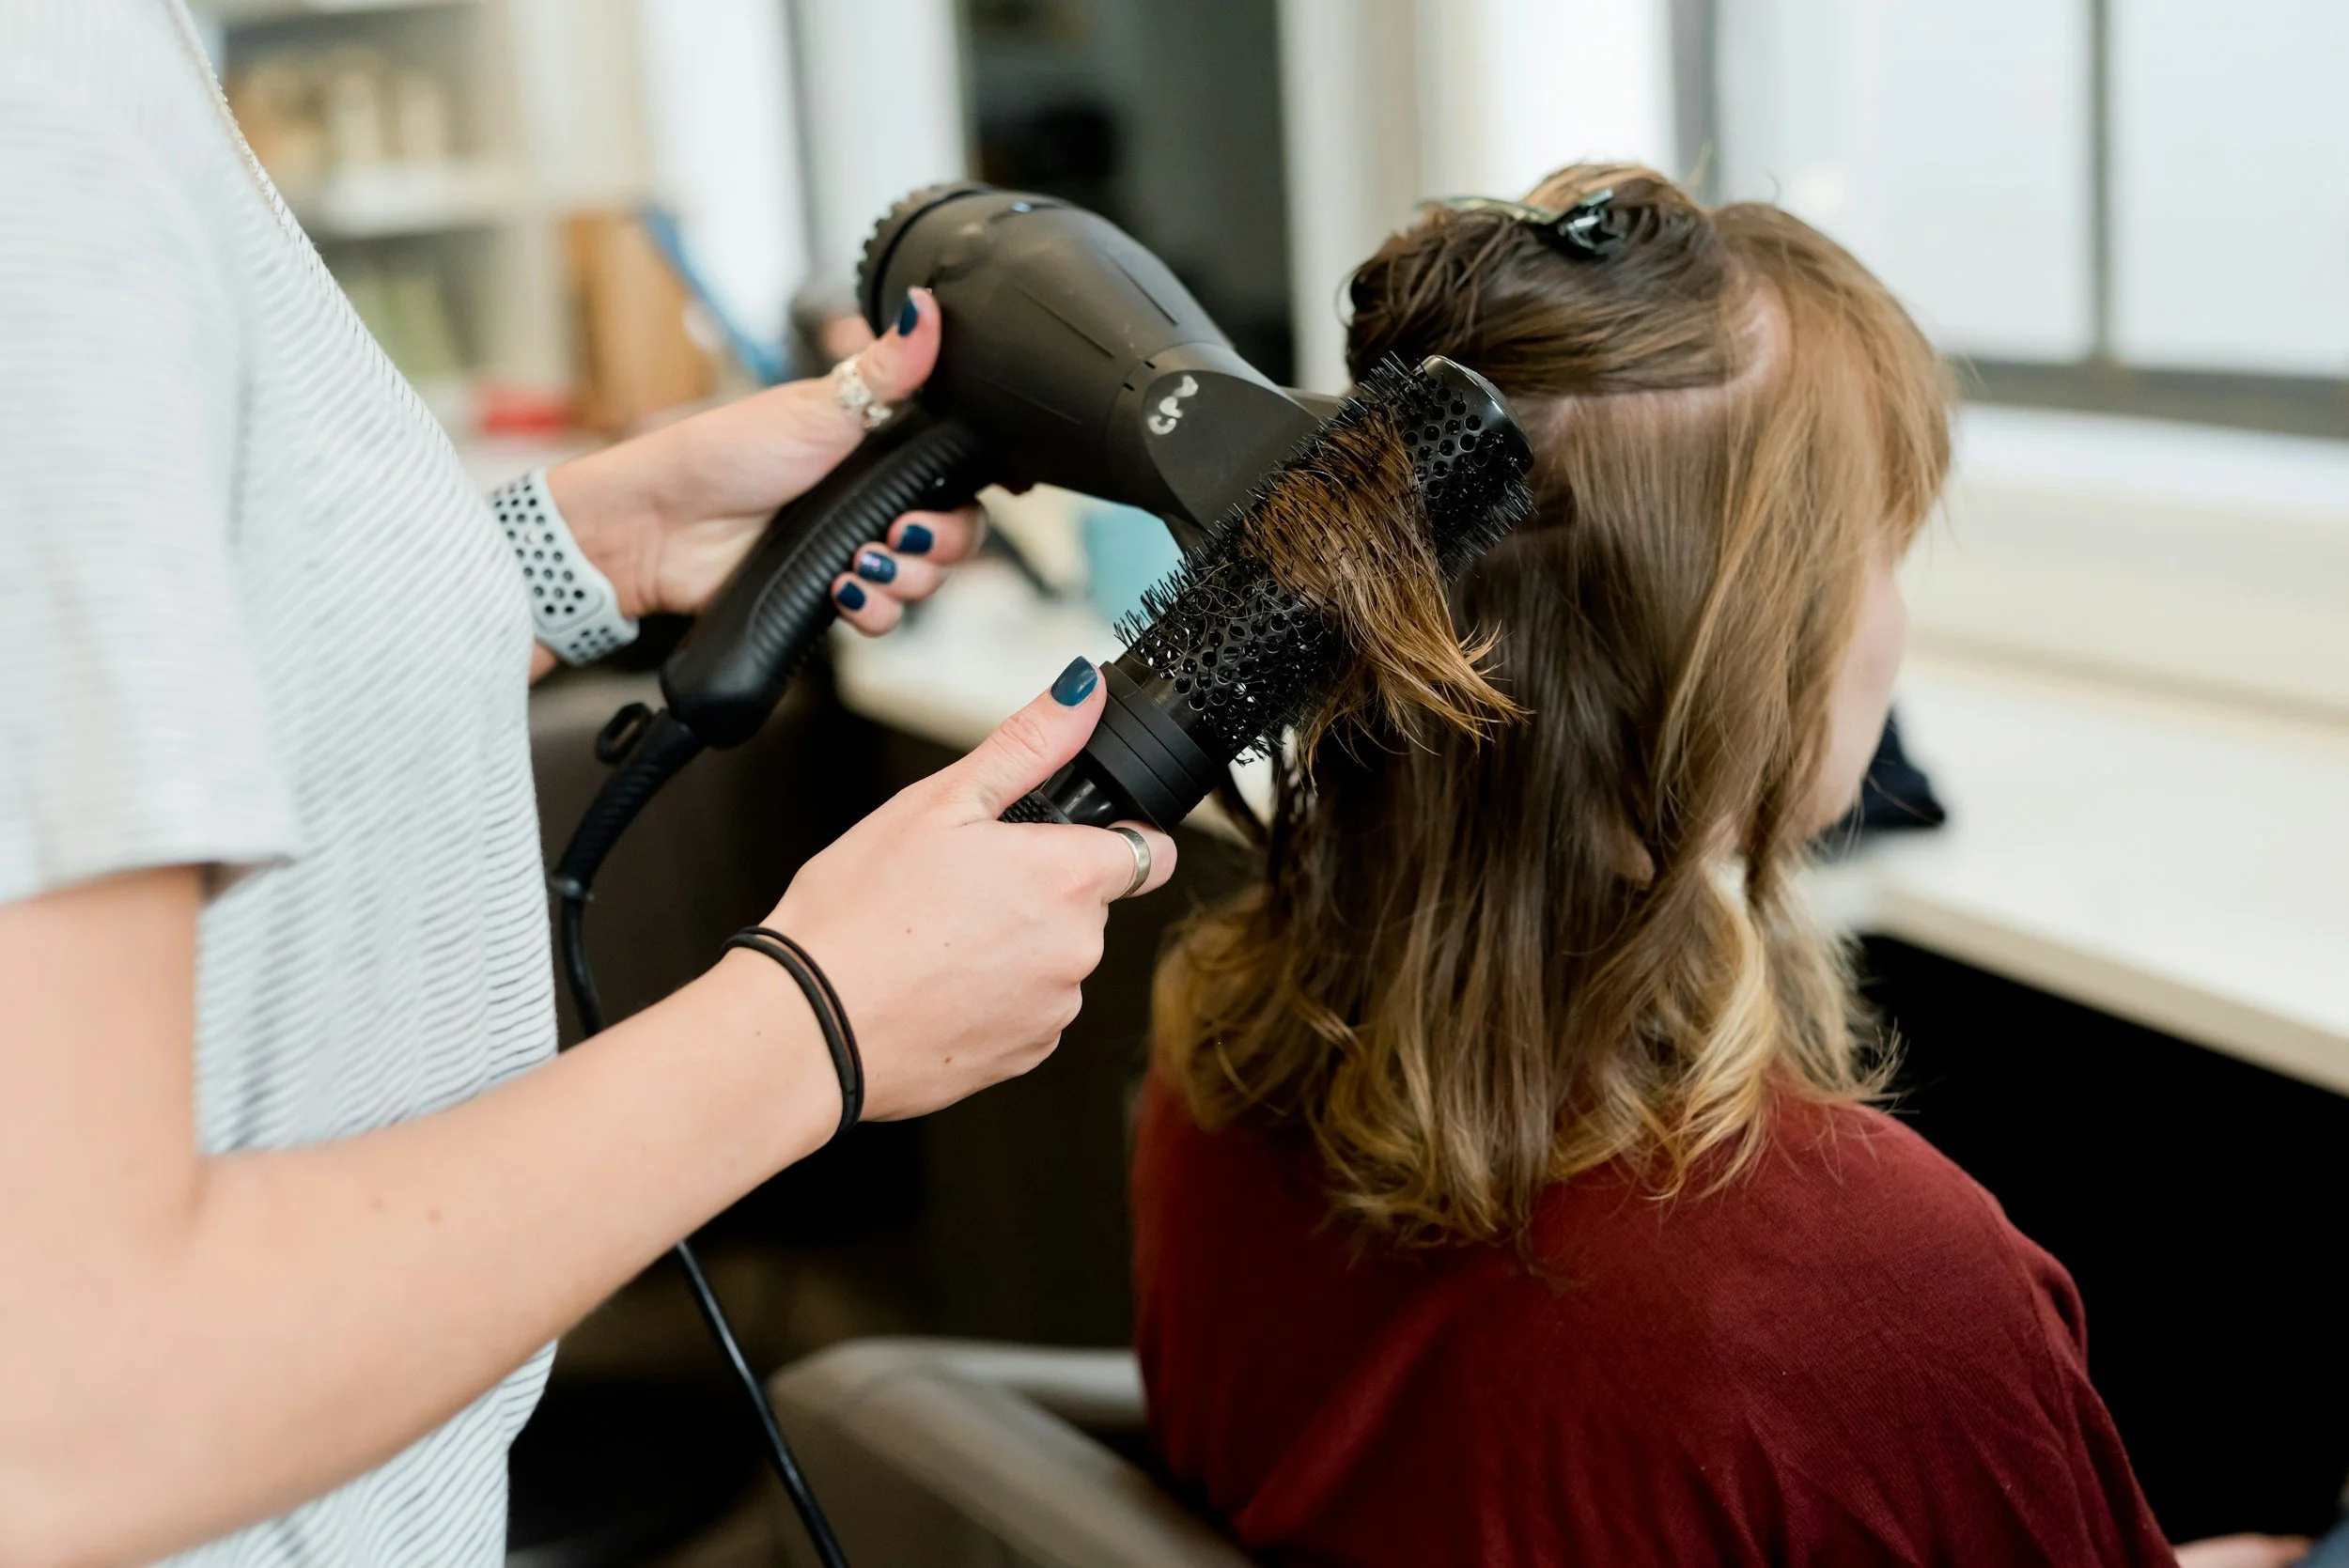
You love the way your hair looks after leaving the salon, but struggle to recreate the loo at home. We’ve got you!
It's all about mastering the right foundation and technique. Perfect tool placement, proper heat protection, and those pro blow dry fundamentals make all the difference.
Ready to elevate your hair game to the next level? Let's make it happen!
Your Blowout Essentials
Time to build your dream hair toolkit. These are the essentials every at-home stylist needs.
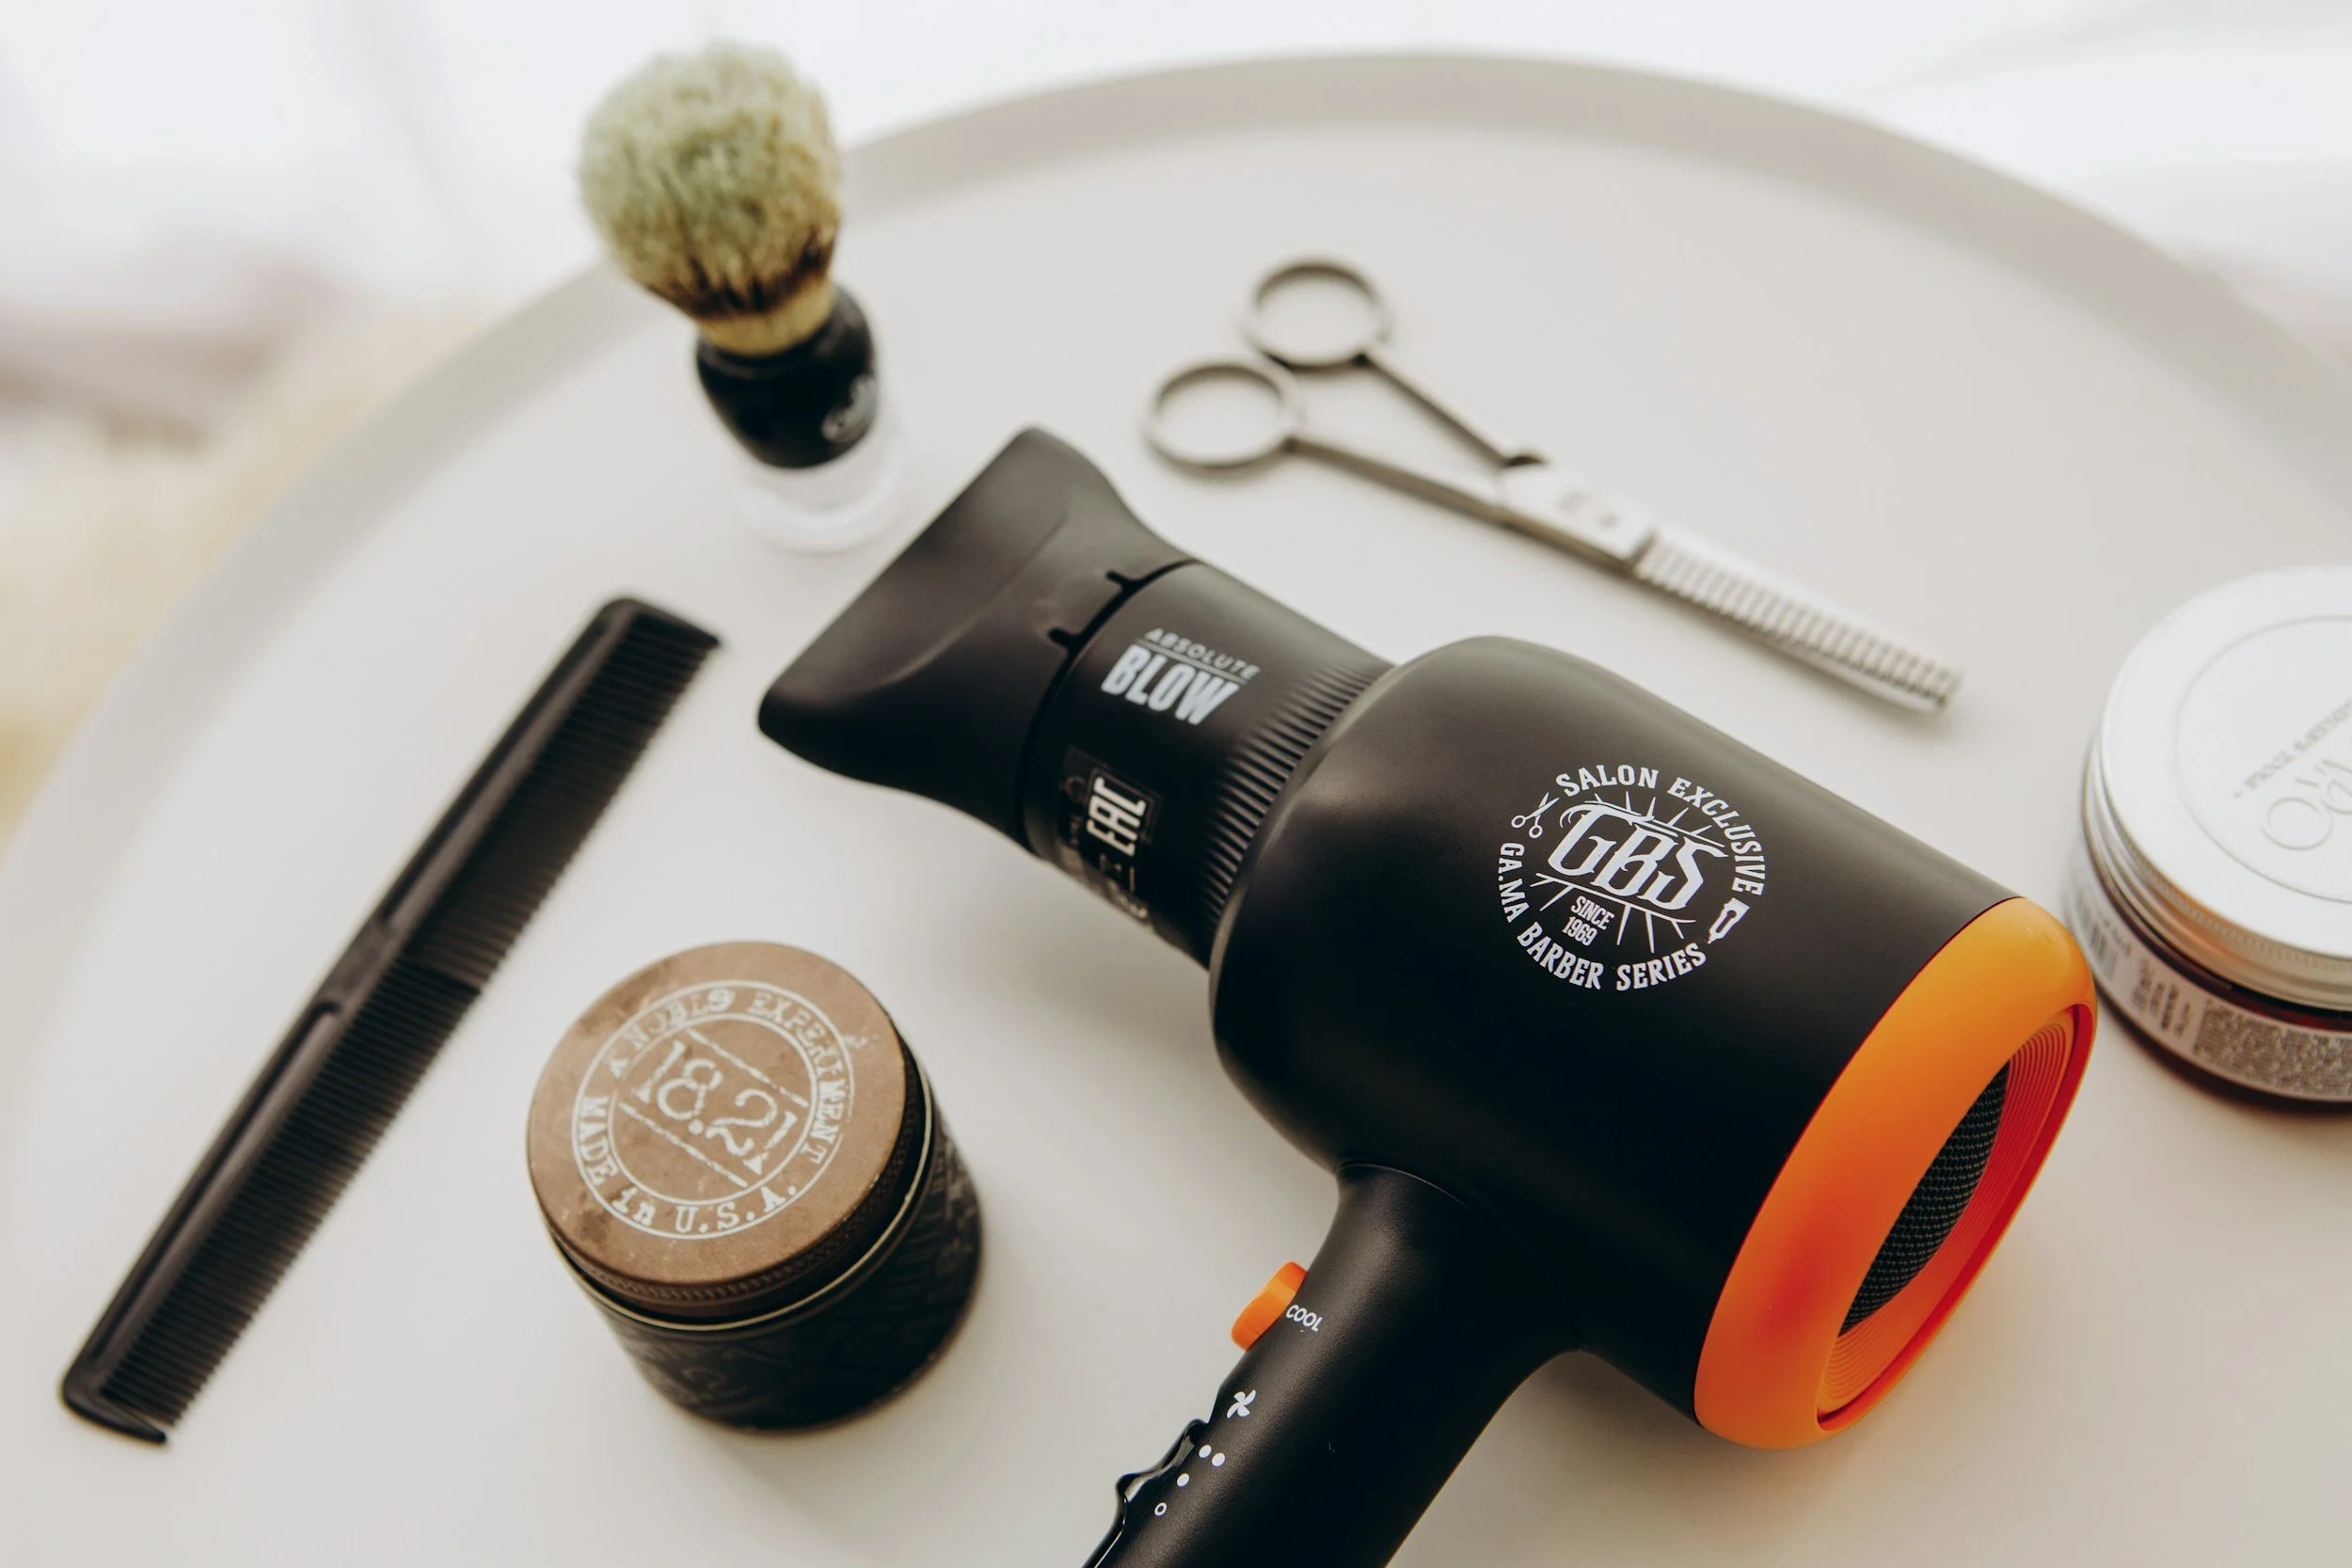
Your Hair Dryer + Concentrator Nozzle The concentrator nozzle narrows airflow and directs it exactly where you want, making those tricky spots easier to reach while sealing the cuticle for serious shine. Without the concentrator, hair blows in all different directions and causes frizz.
Heat Protection This is a non negotiable with any heat styling. Choose a heat protectant that covers up to 450°F. This smart barrier distributes heat evenly and stops those damaging hot spots that strip moisture and weaken your hair's structure. Most styling products these days contain heat protection, but you should always double check.
Styling Products We love a good mousse for hold and a smoothing cream to reduce frizz. These creams smooth your cuticle while boosting hydration while a mousse offers volume & hold.
The Perfect Brush Match Round brushes are your volume and movement tools. Here's your sizing guide:
Small brushes (1-1.5 inches) = tight curls and shorter hair
Medium brushes (1.5-2 inches) = soft, dreamy waves
Large brushes (2.5-3 inches) = smooth, long hair perfection
Boar bristles add incredible shine and work beautifully for all hair types.
Professional Sectioning Clips Grab clips with silicone bands, they grip securely without leaving those annoying crease marks. Clean sections is key to that flawless finish!
Finishing Touch Essential Keep anti-frizz serum, texure spray, or hairspray within reach for those final polish moments.
Your Step-by-Step BLOWOUT Blueprint
Time to get hands-on! Start with freshly washed hair using shampoo and conditioner that loves your hair type. Got thick hair? Double up on that shampoo to really cleanse through to your scalp and remove any buildup. Follow with a rich, moisturizing conditioner. Gently squeeze out excess water with a microfiber towel. Trust us, your hair will thank you!
Now for the magic prep! Apply your heat protectant spray from 6-10 inches away, sweeping it through damp strands. Comb it through with a wide-tooth comb for perfect, even coverage.
To get started set your dryer to medium heat and high speed. Start with a rough dry using just your fingers until you hit that sweet spot of 70-80% dryness. Lift those sections at the roots and keep your dryer a few inches from your scalp. Always point that airflow downward along your hair shaft, this flattens the cuticle and keeps frizz at bay.
You want to work in sections. Clip the top half up, then create smaller sections about 1 to 1.5 inches wide. Start with the nape area where moisture loves to hide.
Grab your round brush and get ready to create some serious bounce! Lift each section at the root and roll that brush through while directing heat from root to tip. Lifting the hair in an upwards motion will help create volume. The rotation of the brush creates the bounce & body
Final touch: hit the cool shot button on your blowdryer to cool the hair and lock it in place. If you don’t let the hair cool, the style won’t hold.
After Care for Long Lasting Blowouts
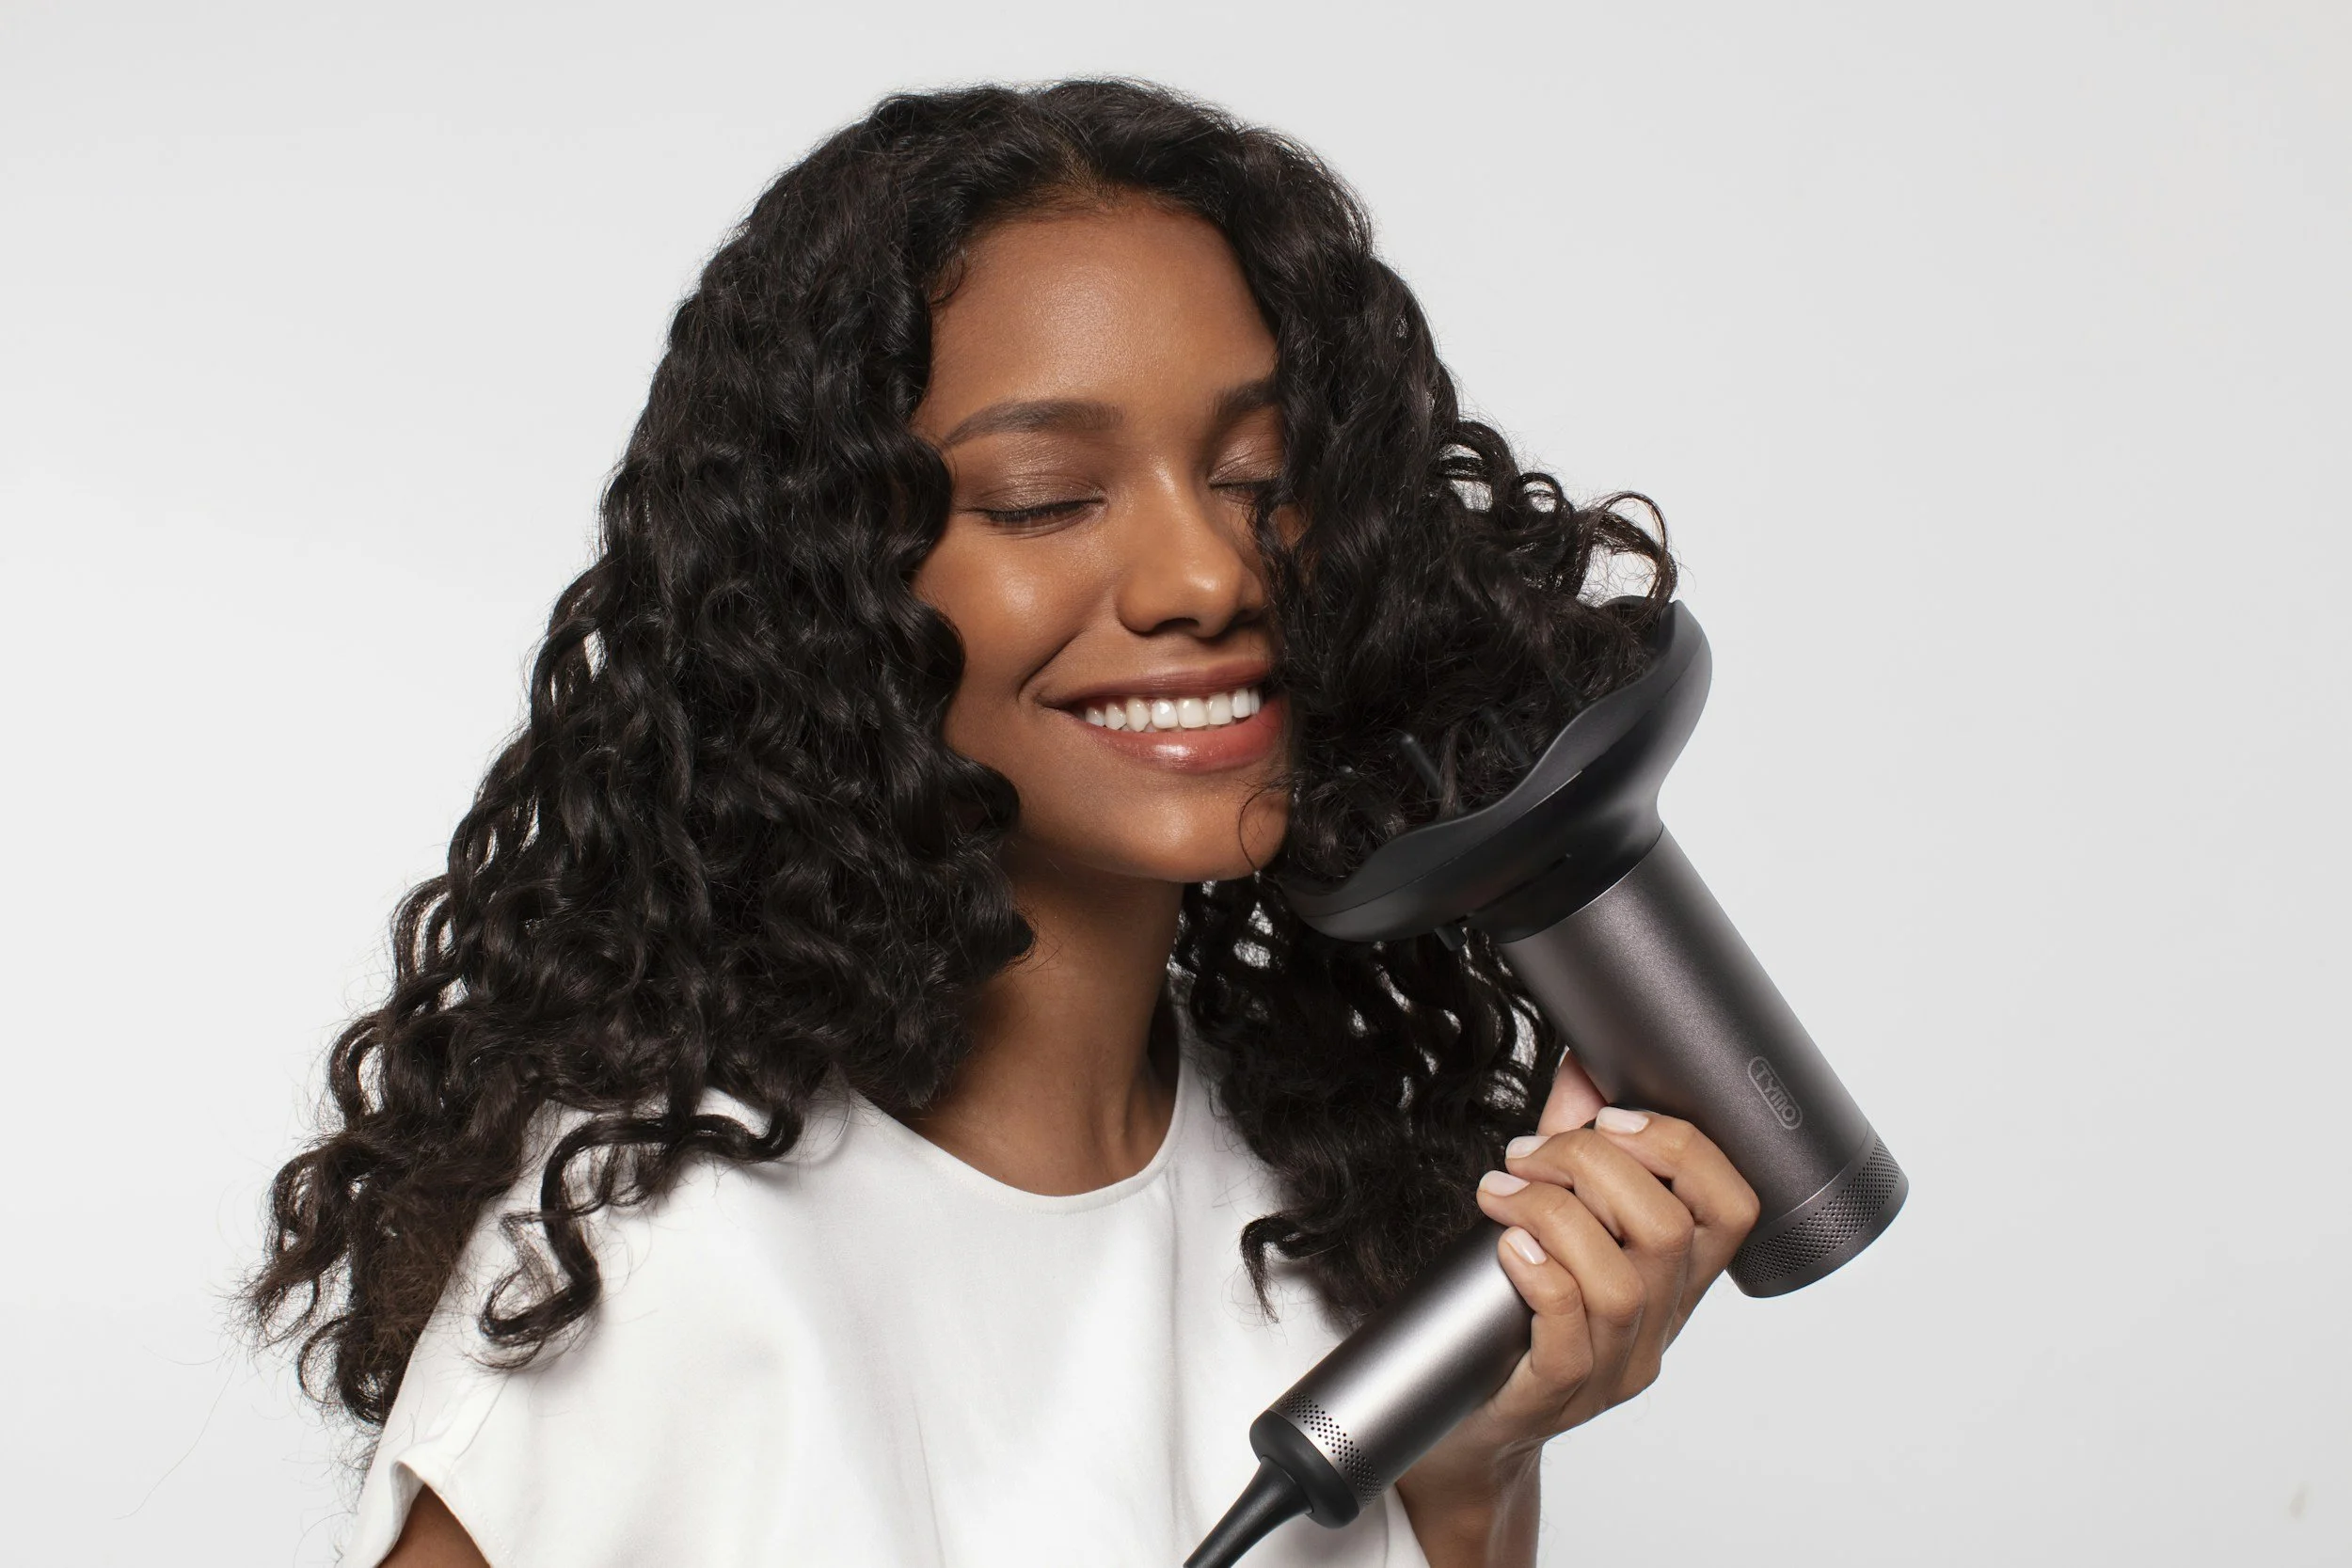
Your gorgeous blowout can stay fresh for 3-5 days with these pro moves! Sleep on a silk pillowcase to reduce friction and prevent frizz. Or even better, wrap your hair in a loose silk scarf or bonnet before bed.
Skip tight ponytails or buns that create weird bends and totally ruin your shape. If you need to tie up your hair grab large silk scrunchies for a loose top knot positioned at the crown. This keeps your hair secured gently while maintaining that gorgeous volume without creasing.
Protect your hairline when washing your face. Wear a wide cotton headband to prevent water from creating frizz along the edges. The more you keep hair away from your face throughout the day, the longer your style stays perfect.
On day 2 and 3 you can use dry shampoo. Spray directly at the roots, let it sit briefly, then work it through. Ditch heavy products that weigh hair down. Lightweight serums are great when used sparingly for that perfect polish.
Here's what most people don't know: natural oils from your hands transfer to strands and break down your blowout. Keep touching to a minimum after styling. Apply a light-hold hairspray to lock in your style without stiffness.
Try It For Yourself
You've got everything you need to create that stunning, bouncy blowout right from your own space. Practice makes perfect. You'll see your skills getting better with each blowout session.